*A little change has been made to my Creative Recycling posts - they will feature one recycling project instead of listing and linking to many ideas all at once. Starting this week, each month will showcase one item and every Sunday there will be one tutorial on how to make that week's project!*
_________________________________________________
For the remainder of November, we'll be recycling juice pouches!
This week, I'll show you how to turn these:

into this:

Now, I'm certainly not the first person to turn Capri Sun pouches into a bag, but I did do this all on my own, without any patterns or directions!
(with the exception of the handles...I had some guidance on that one.)
Directions:
And now you're done!


For the remainder of November, we'll be recycling juice pouches!
This week, I'll show you how to turn these:
into this:
Now, I'm certainly not the first person to turn Capri Sun pouches into a bag, but I did do this all on my own, without any patterns or directions!
(with the exception of the handles...I had some guidance on that one.)
Materials:
19 Capri Sun pouches (this is to make this same exact tote)
Sewing machine
Matching thread
Fabric in corresponding color
19 Capri Sun pouches (this is to make this same exact tote)
Sewing machine
Matching thread
Fabric in corresponding color
Directions:
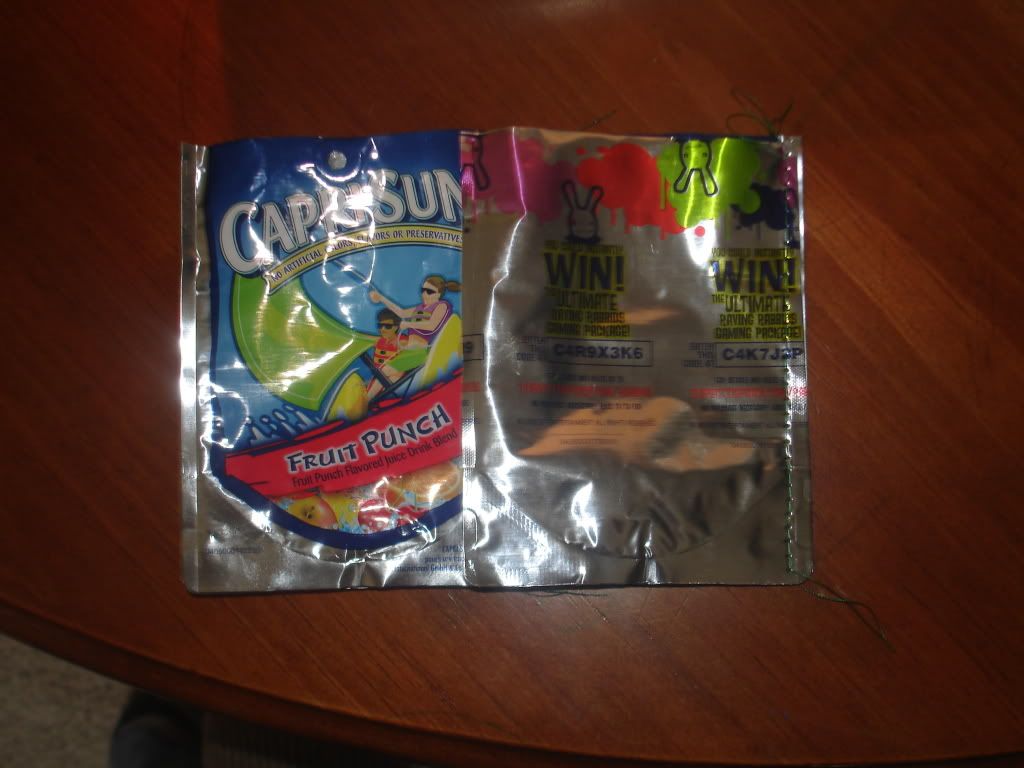
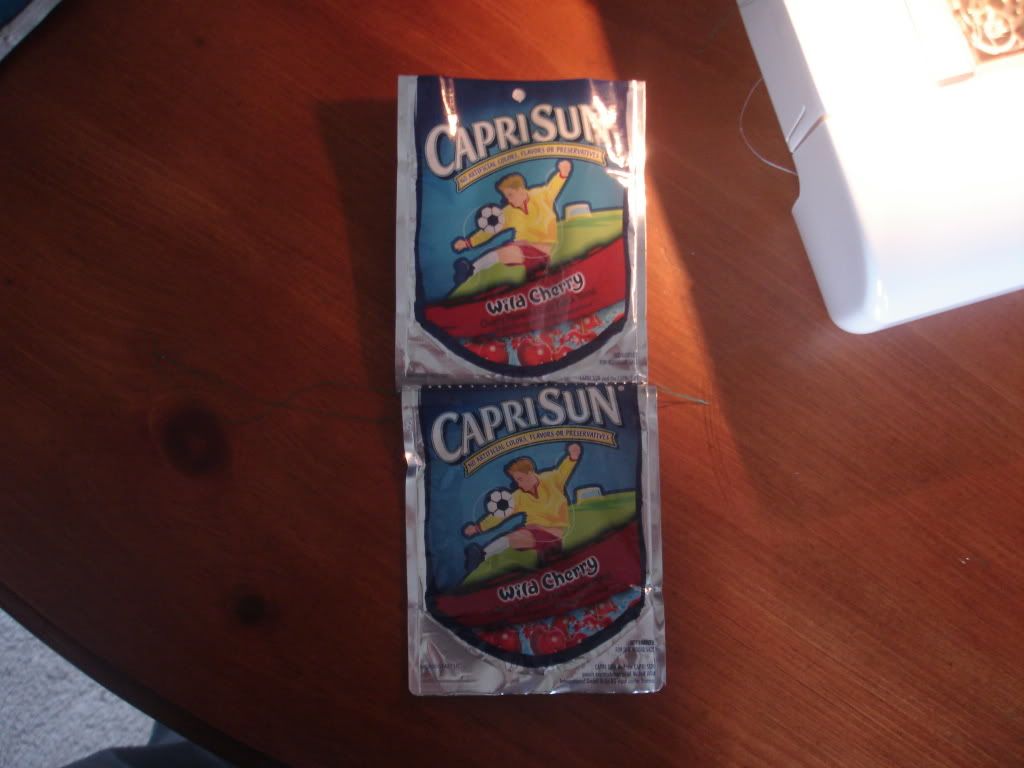
Step 1. Snip, Wash, Dry
Snip the top off the pouch. (I cut along the line where the blue graphic meets the silver.) Then wash out the inside and let dry.
Step 2. Sew the front and back panels
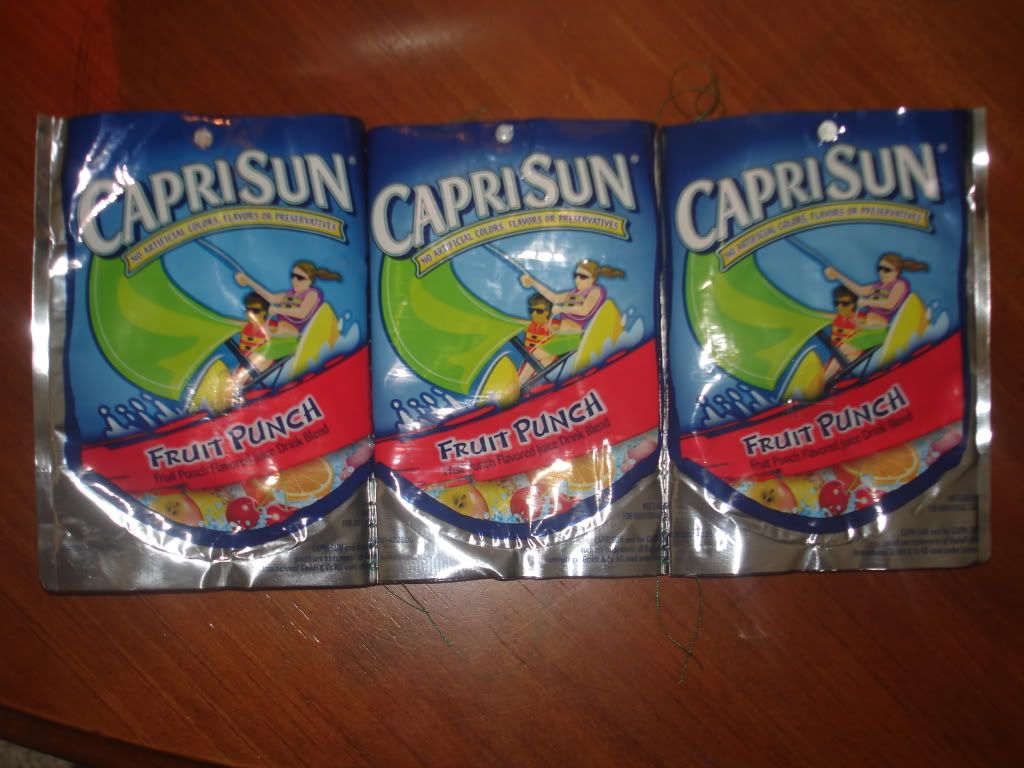
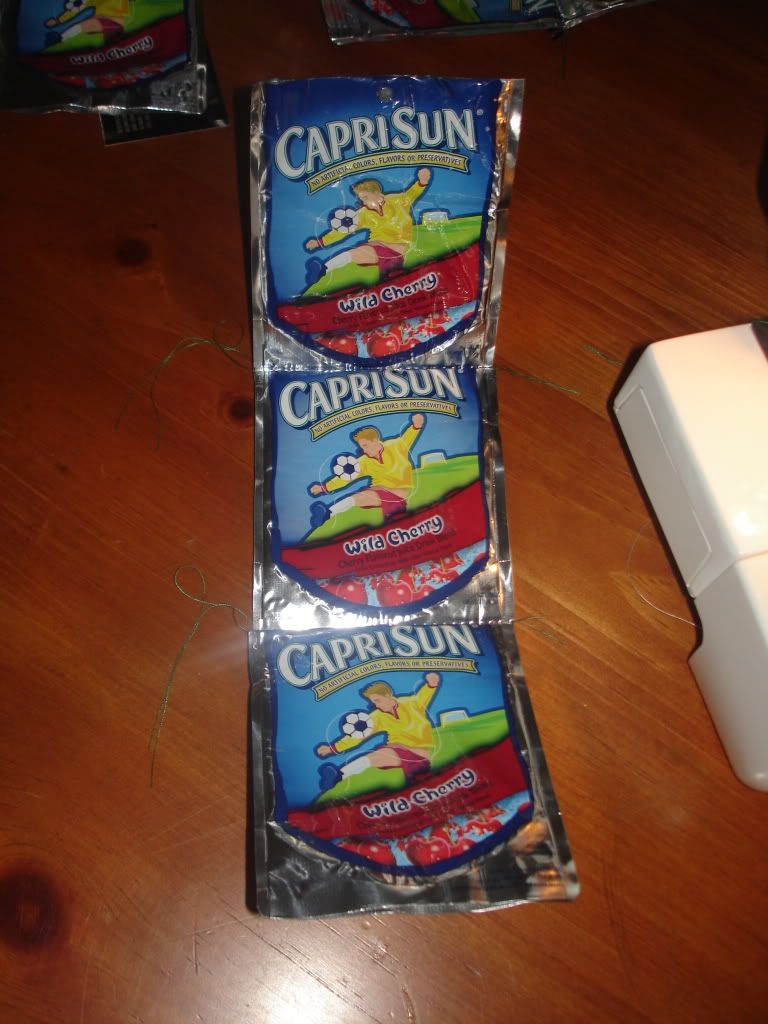
Sew two pouches together, right sides facing, along one edge.

Add one more pouch so that you have 3 pouches in a row. Do this 3 more times for a total of 4 3-pouch rows.
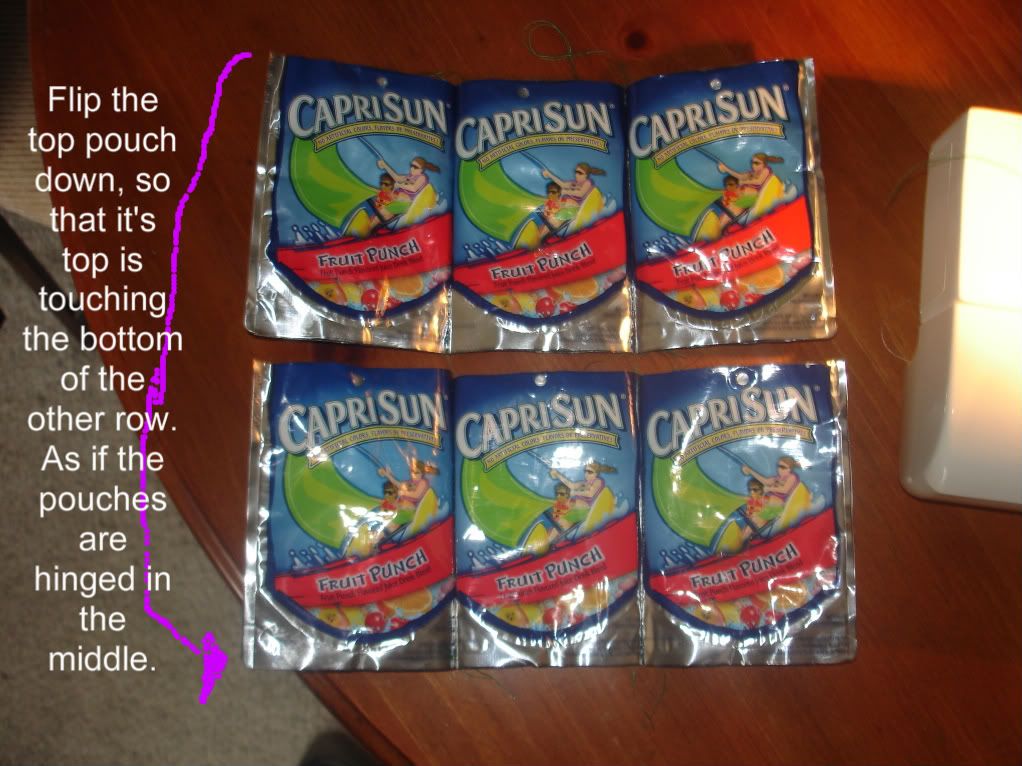
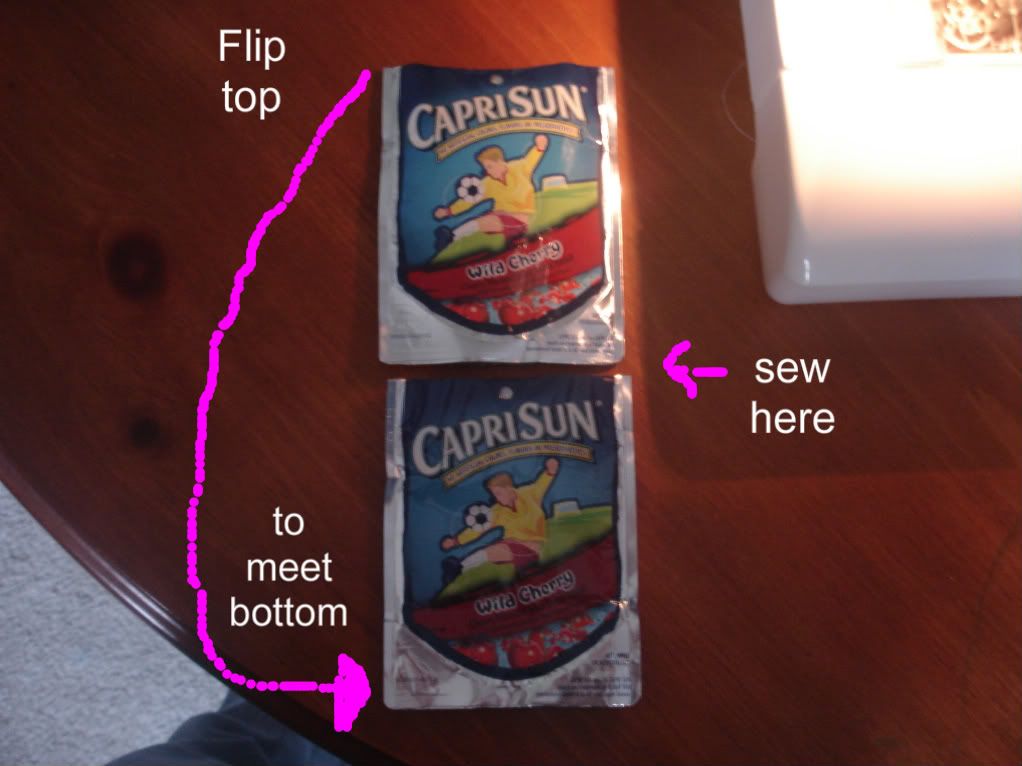
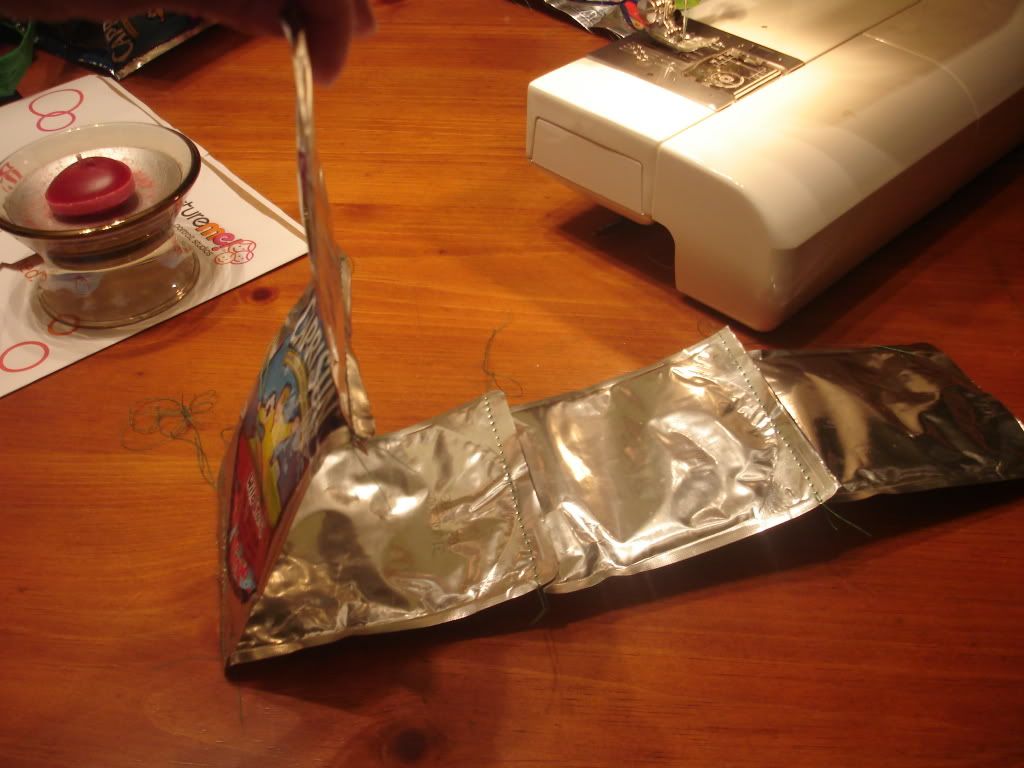
Now place two rows right side together, making sure that one is placed upside-down, so that it will open up to be right side up. (see picture) Sew the "top." Do this once more. You now have your front and back panels!

Step 3. Sew the side panels
This part requires 4 pouches - 2 sewn together to end up with 2 2-pouch strips.
Step 4. Sew the bottom panel
For this step, you'll need 3 pouches, sewn together as in the picture. Cut the completed bottom panel to be 11" long.

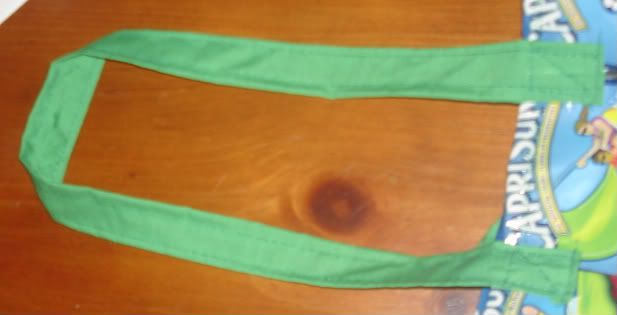
Step 5. Make your fabric handles.
Here's an excellent tutorial on how to do this! (skip down to the section called Bias Tape Handle for the directions) Just adjust your measurements to suit your wants! I cut 4 strips, approx. 3" x 12" each and sewed 2 strips together (using the bias tape method) to make one longer handle. Do this once more - now you have two handles!
Step 6. Attach the bottom panel to the side panels.
Sew one of the side panels and the bottom panel wrong (silver) side together. Sew with a zigzag stitch. Then sew the second side panel to the bottom panel, as you did the first.

#1
#2
Step 8. Attach the bottom panel to the front & back panels.
Place the bottom section and front panel wrong side (silver side) together. Sew with a zigzag stitch. Repeat for the back panel.


Snip the top off the pouch. (I cut along the line where the blue graphic meets the silver.) Then wash out the inside and let dry.
Step 2. Sew the front and back panels
Sew two pouches together, right sides facing, along one edge.
Add one more pouch so that you have 3 pouches in a row. Do this 3 more times for a total of 4 3-pouch rows.
Now place two rows right side together, making sure that one is placed upside-down, so that it will open up to be right side up. (see picture) Sew the "top." Do this once more. You now have your front and back panels!
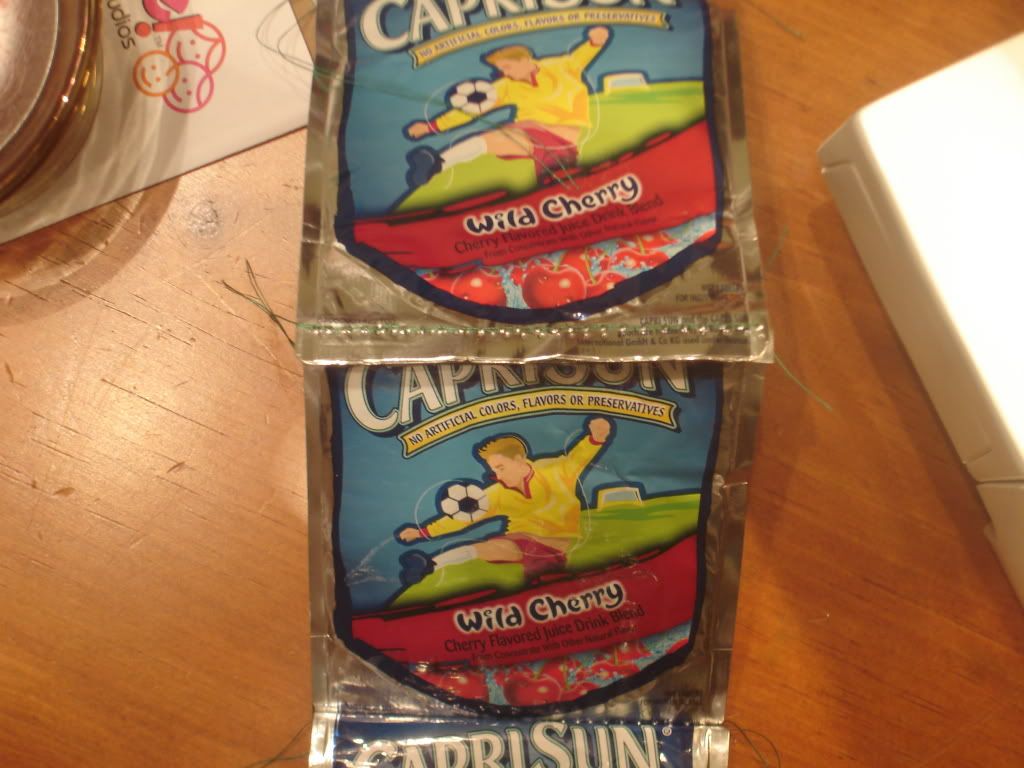
Now fold over the top of each panel to create a clean edge. Sew with a zigzag stitch.
Step 3. Sew the side panels
This part requires 4 pouches - 2 sewn together to end up with 2 2-pouch strips.
Now fold over the top of each panel to create a clean edge. Sew with a zigzag stitch.
For this step, you'll need 3 pouches, sewn together as in the picture. Cut the completed bottom panel to be 11" long.
Step 5. Make your fabric handles.
Here's an excellent tutorial on how to do this! (skip down to the section called Bias Tape Handle for the directions) Just adjust your measurements to suit your wants! I cut 4 strips, approx. 3" x 12" each and sewed 2 strips together (using the bias tape method) to make one longer handle. Do this once more - now you have two handles!
Step 6. Attach the bottom panel to the side panels.
Sew one of the side panels and the bottom panel wrong (silver) side together. Sew with a zigzag stitch. Then sew the second side panel to the bottom panel, as you did the first.
Step 7. Attach the handles
Pin handles so that 2" of one end overlaps the front panel. Sew it on with an X pattern. (see picture #1) Sew the other end of the same handle onto the same panel. Be sure the handle is not twisted! (see picture #2) Repeat for the other handle.
Pin handles so that 2" of one end overlaps the front panel. Sew it on with an X pattern. (see picture #1) Sew the other end of the same handle onto the same panel. Be sure the handle is not twisted! (see picture #2) Repeat for the other handle.
#1
#2
Step 8. Attach the bottom panel to the front & back panels.
Place the bottom section and front panel wrong side (silver side) together. Sew with a zigzag stitch. Repeat for the back panel.
Step 9. Sew the sides
Sew each side together, wrong sides facing, with a zigzag stitch.
Sew each side together, wrong sides facing, with a zigzag stitch.
And now you're done!
That's cool. I've heard of a company that makes bags out of capri sun pouches, but I've never thought of making on myself!
ReplyDeleteThat looks so cute! Def. going on my list of things to make...someday. ;)
ReplyDeleteThanks for the step-by-step with pics!
What type of needle did you use on ;your sewing machine?
ReplyDeleteI used whatever the standard/normal needle is for sewing machines! (sorry for the lack of sewing machine lingo! :) )
ReplyDeleteUm,I don't have a sewing machine,is there any way I could just do it all by hand. I'm willing to do the work
ReplyDeleteI don't see why you couldn't hand stitch your bag! I think a simple backstitch would suffice! Here's a nice site for hand stitching how-to's!
ReplyDelete