1. Stamps - as in "rubber" stamps - you can cut designs into one end using an x-acto knife, dip in paint and stamp away!
2. Placecard Holders - I have to say that this is one of my fav uses for cork! (although, I've never ever once in my life used placecards)
3. Christmas Ornaments
4. Trivet
Here's what I did:
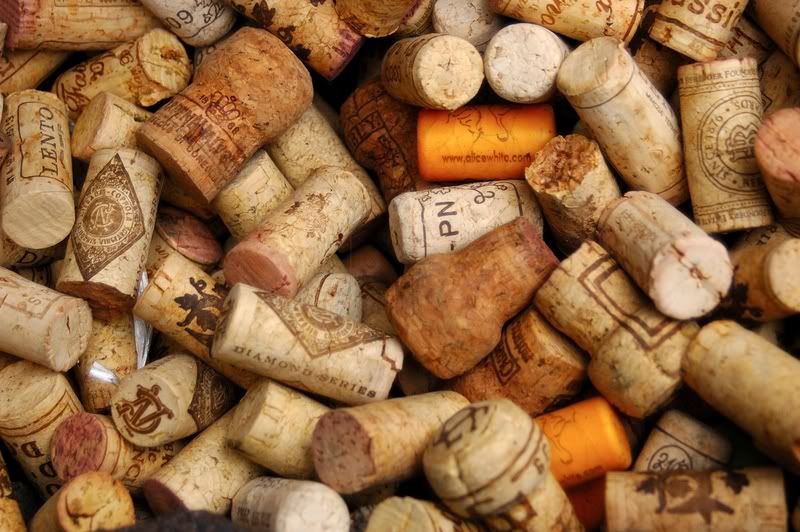
Oh...you'll need corks (no way!) and a hot glue gun.
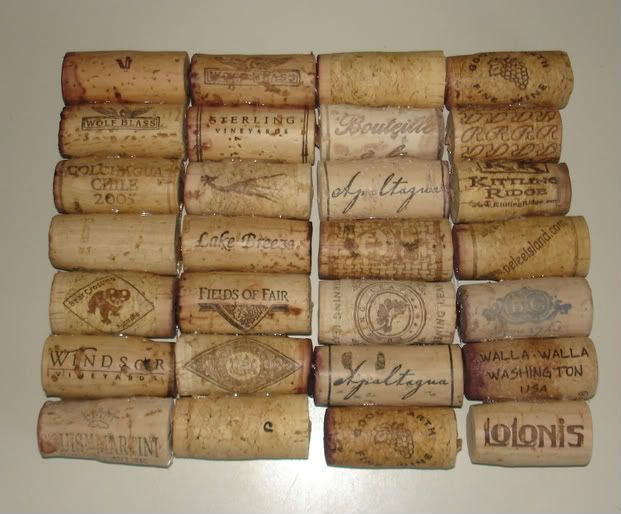
Step 1: Arrange and glue your corks.
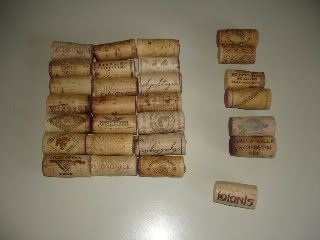
I find it best to arrange things that need to be glued prior to gluing them together. This is especially true with corks, given their unevenness. In the above picture, you can see that I glued mine in a row, edge-to-edge as opposed to end-to-end. I glued them in pairs and then glued the pairs to other pairs, mostly because I'm too impatient to wait for hot glue to dry!
Step 2. Glue your rows together.
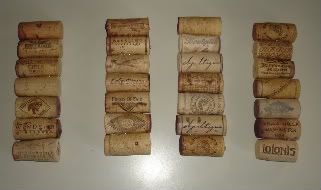
This step is simply gluing your rows together. If you've aligned your corks in a perfectionist manner, all ends will touch and line up....IF you are a perfectionist. I am not. So, my rows did not line up beautifully and that meant less gluing, 'cause if the ends are too far apart then glue won't help you! Notice that only a few cork ends have glue on them:
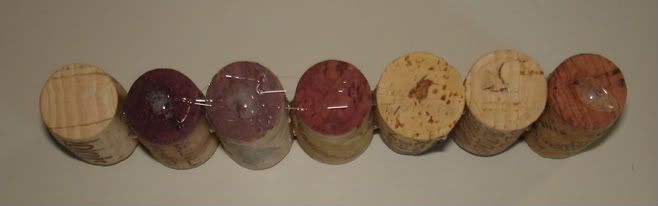
Once you get all your rows glued together, you're done!
Some people make a frame with a backing for their trivets...you won't see any glue that way, but I just didn't want to take the time or money to do that. If you don't want to make your own frame, you could also buy a shadow box and remove the glass front.
If I do this again, I may try the frame technique...
Oh...you'll need corks (no way!) and a hot glue gun.
Step 1: Arrange and glue your corks.
I find it best to arrange things that need to be glued prior to gluing them together. This is especially true with corks, given their unevenness. In the above picture, you can see that I glued mine in a row, edge-to-edge as opposed to end-to-end. I glued them in pairs and then glued the pairs to other pairs, mostly because I'm too impatient to wait for hot glue to dry!
Step 2. Glue your rows together.
This step is simply gluing your rows together. If you've aligned your corks in a perfectionist manner, all ends will touch and line up....IF you are a perfectionist. I am not. So, my rows did not line up beautifully and that meant less gluing, 'cause if the ends are too far apart then glue won't help you! Notice that only a few cork ends have glue on them:
Once you get all your rows glued together, you're done!
Some people make a frame with a backing for their trivets...you won't see any glue that way, but I just didn't want to take the time or money to do that. If you don't want to make your own frame, you could also buy a shadow box and remove the glass front.
If I do this again, I may try the frame technique...
No comments:
Post a Comment
Thanks for taking time to leave a comment!